Group formation – manually and automatically
To be able to form groups as an administrator, navigate to the tab “Exam data” and set ‘Exam submission conditions’ to “Forced exam groups”. Click ‘Save’ in the bottom of the screen to let the changes take effect.

In the tab ‘Students’, administrator will now be able to form groups.
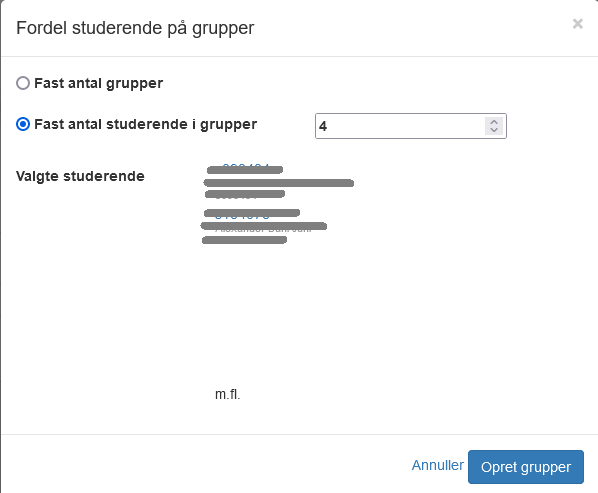
I.e. you can select all students and then click the arrow on the button ‘Edit selected’ and select ‘Assign students into groups. In the dialog box, choose every group to have 4 members. Remember to click ‘Create groups’. In the tab ‘Students’ you now see that the students are placed in groups.

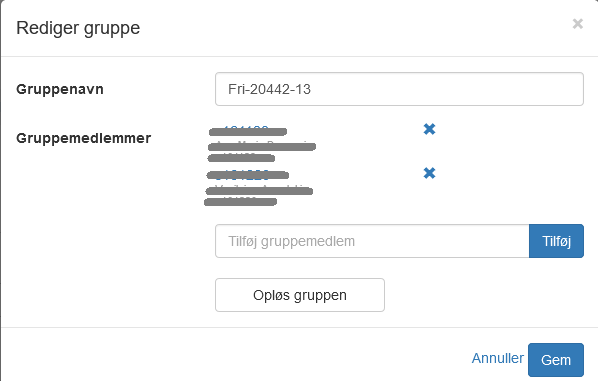
It is possible to edit single groups after the group formation. This is done by selecting a group and click the arrow on the ‘Edit selected’-button and select ‘Edit group’. You can both remove and add group members or dissolve the group. Click ‘Save’ to finish.

Individual time for students
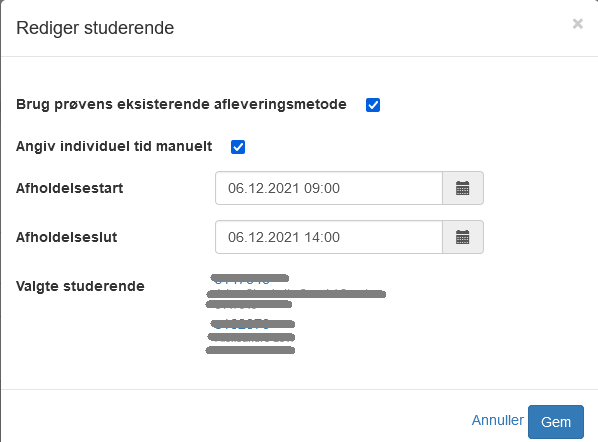
It is possible to assign students individual (extra) time for an exam. Select the students to specify individual time and click the button ‘Edit selected’ in the bottom.
In the dialog box, check the box for ‘Specify individual time manually’. Date boxes will appear, and now you can edit the individual time (this will count for all of the selected students).

Remove students form an exam
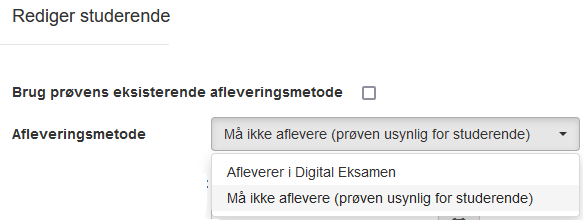
During an exam it is possible to remove one or more students. This is done by selecting the students you wish to remove and click ‘Edit selected’.

In the dialog box, remove the check mark from the ‘Use existing hand-in method for exam’ box. Next, from field ‘Hand-in method’, select ‘Can’t hand in (exam invisible for students)’ in the drop-down menu.

From the tab ‘Students’, remarks are now given to the students removed from the exam.

