If you wish to create an exam plan where you can make templates for exams over multiple days and assign the students to predefined slots choose
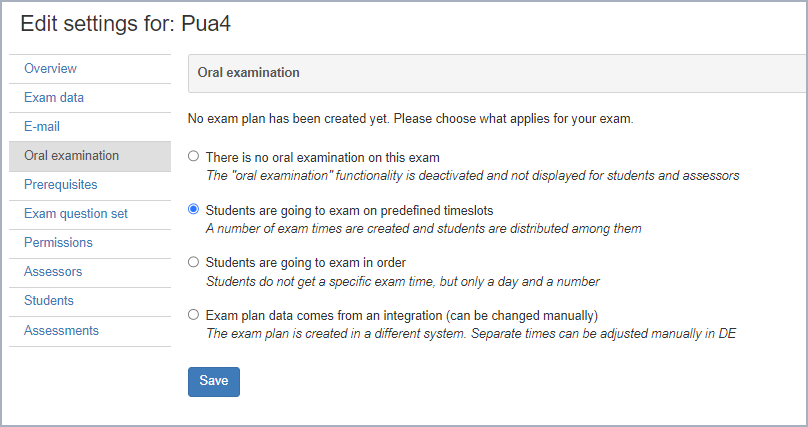
- Students are going to the exam on predefined timeslots
- Click Save
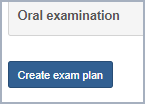
- Click on “Create exam plan”
Creating a template
(that can be copied to several exam days )
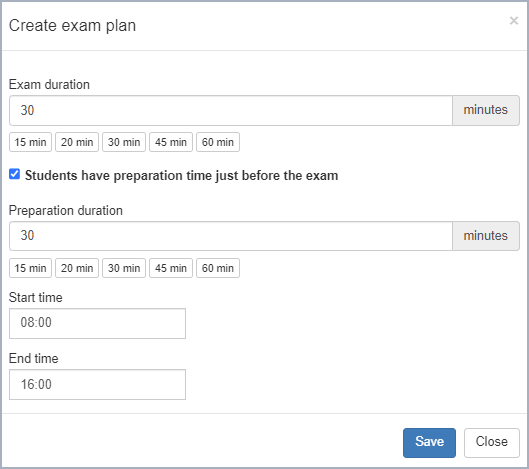
- Set a preparation time if applicable (minutes), Save
- Set the duration of the exam (minutes) and click Save
The framework is now set up
You now have the following options
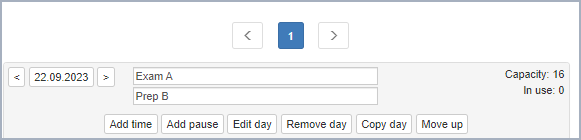
- Set an exam data (the default date is todays date)
- Set an exam room og a preparation room if applicable (assigning an exam room is mandatory before publishing the exam plan
- Add breaks (they can be altered by drag/drop)
The created breaks are visible at the bottom of the exam plan - Copy, edit and delete the day if needed (remember to put in the right date when you copy)
If you need to prolong the day/plan then remember to add time (slots) - Move up slots
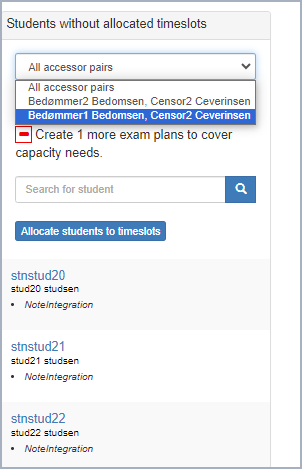
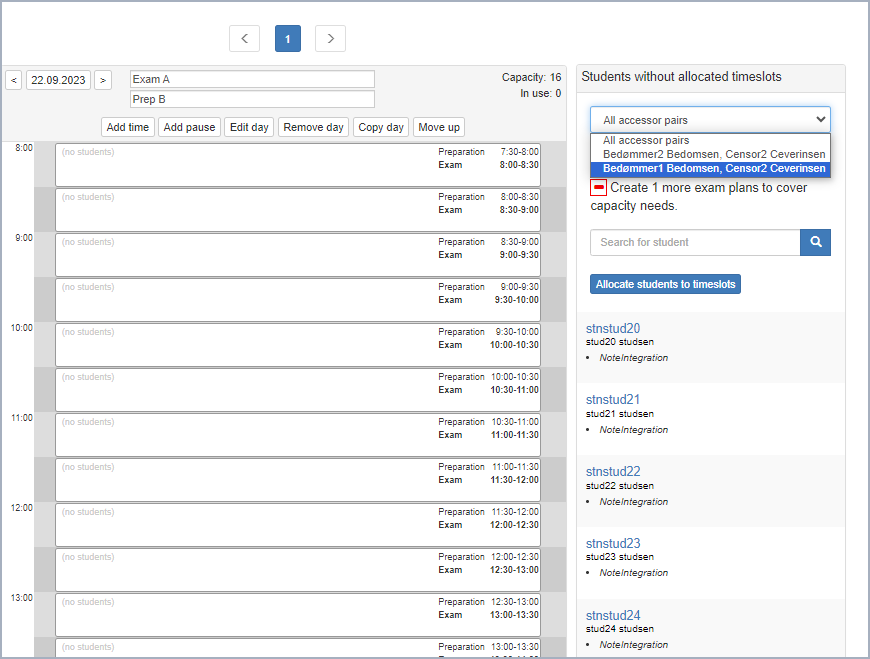
On the right side you can
- Filter among assessor pairs
- See the number of students witout an allocated slot
- See the needed umber of extra exam days
- Search for specific students
Assigning students to time slots
- Choose an assessors pair (assessors are assigned on the Assessor tab) and assign them to the students via ” Allocate students to timeslots)
- Allocated students disappear from the student list to the right
- Move students between exam times by dragging/dropping
- Delete students and or times by clicking on the Fjern en studerende fra en tid eller slet en tid ved at klikke ind på tiden
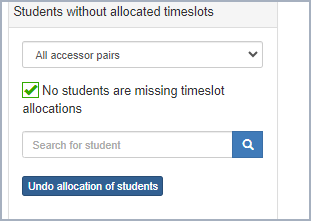
- If you want to undo the allocation the students this can be done by drag/drop individually or a mass undoing
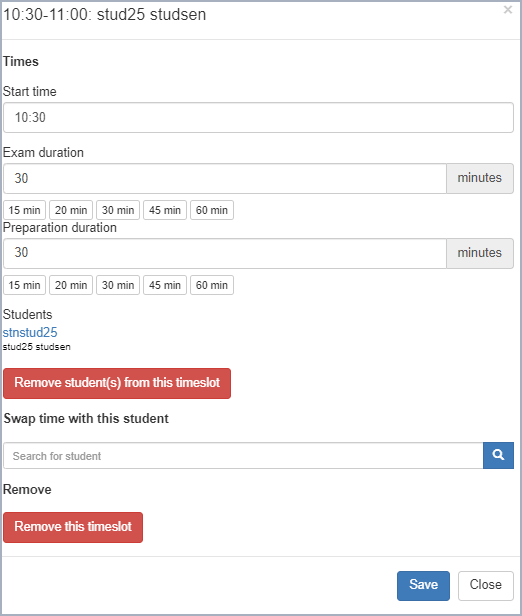
Editing time slots
The times can also be edited by clicking on a specific student
- It is possible to change the specific slot for a student
- You can remove the student from the allocated time slot and the student will appear to the right of the screen as students without allocated timeslot
- Slots can be swapped between one student and another
- Slots can be deleted
Publishing the exam plan
- When the plan is finihed click on “Publish” (the students will not be able to se their slots until the plan is published)
- You can publish if you change the data for the data to be visible to students and assessors
- The exam plan can be exported to excel and can be shown by clicking on Show the examplan (the plan doesn’t need to be published in order to be shown)
- Published changes on a visible exam The changes (if the plan is published) will be shown for the students

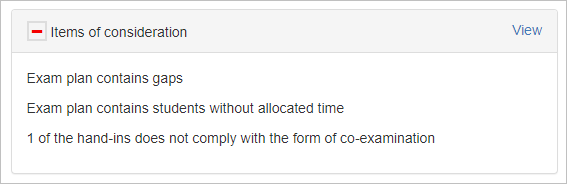
Items of consideration (the overview page)
It will be show as items of consideration on the overview page if
- Students deregistrate from the exam (and hence create “holes” in the exam plan)
- Students without a assigned assessor (creating a “hole” in the exam plan)
- The exam plan is not yet published
- Students have overlapping times (if you have forgotten to put in the correct date when copying the exam day)