Guide for the students
What is ITX Flex
(ITX Flex will be phased out as of September 2025 and replaced by Arcanic Observer)
- ITX flex is a monitoring solution for on-site exams, where you bring and work on your own computer
- The tool takes screenshots of the active windows and programs
- The tool cannot access data on your computer
- ITX flex requires you to download an application and especially on MacOS – in system settings – give permission for screen recording.
- ITX flex supports both MacOS and Windows
- You can can see the recordings of your exam within 48 hours of the exam ending
An ITX exam i general terms
- Log in to Digital Exam before the exam starts (you are usually sent into a "waiting room")
- Download and install the ITX Flex client and follow the instructions in ITX Flex
  (you will need the personal code displayed in the exam information)
- When the exam starts, click on Start recording in ITX Flex and then on "Go to the exam"
- Here you must enter a PIN code (usually provided in the exam room)
- After handing in, ITX Flex automatically stops recording 15 minutes after the exam end
   (or you can also shut down ITX Flex yourself)
Important, please note
- that the screenshots in the guide as per now does not cover all operating systems and is based on windows
- that you can experience a few seconds delay from the moment that you have handed in your assignment i Digital Exam till it has been registered in ITX Flex
- that you cannot change the screen resolution when ITX Flex is running
Download ITX flex clienten
It can be downloadet well in advance
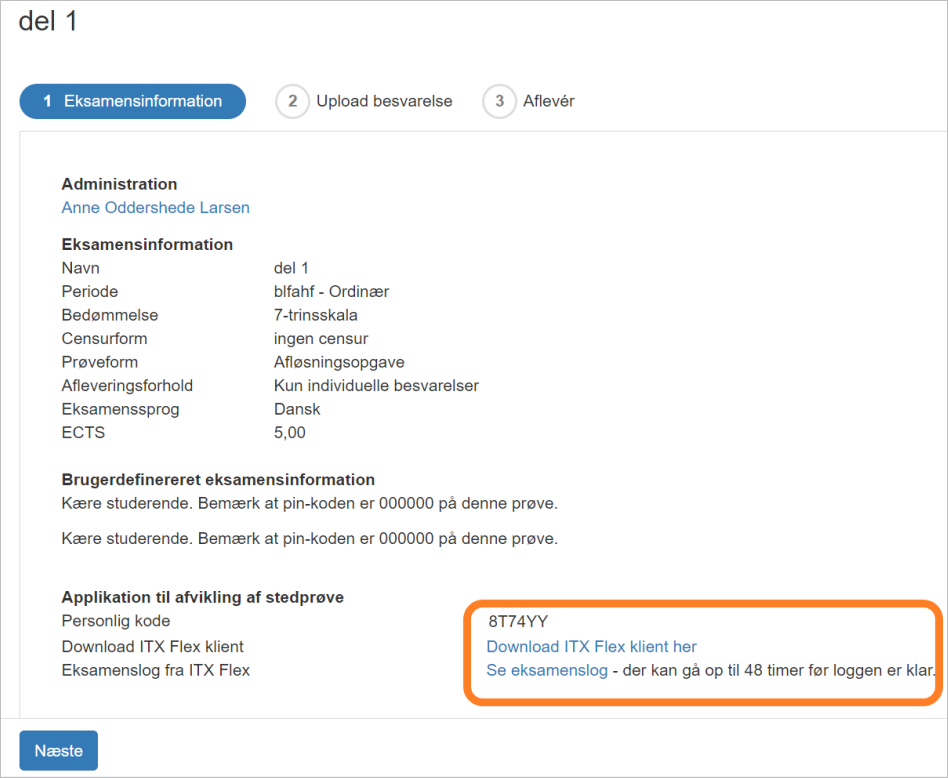
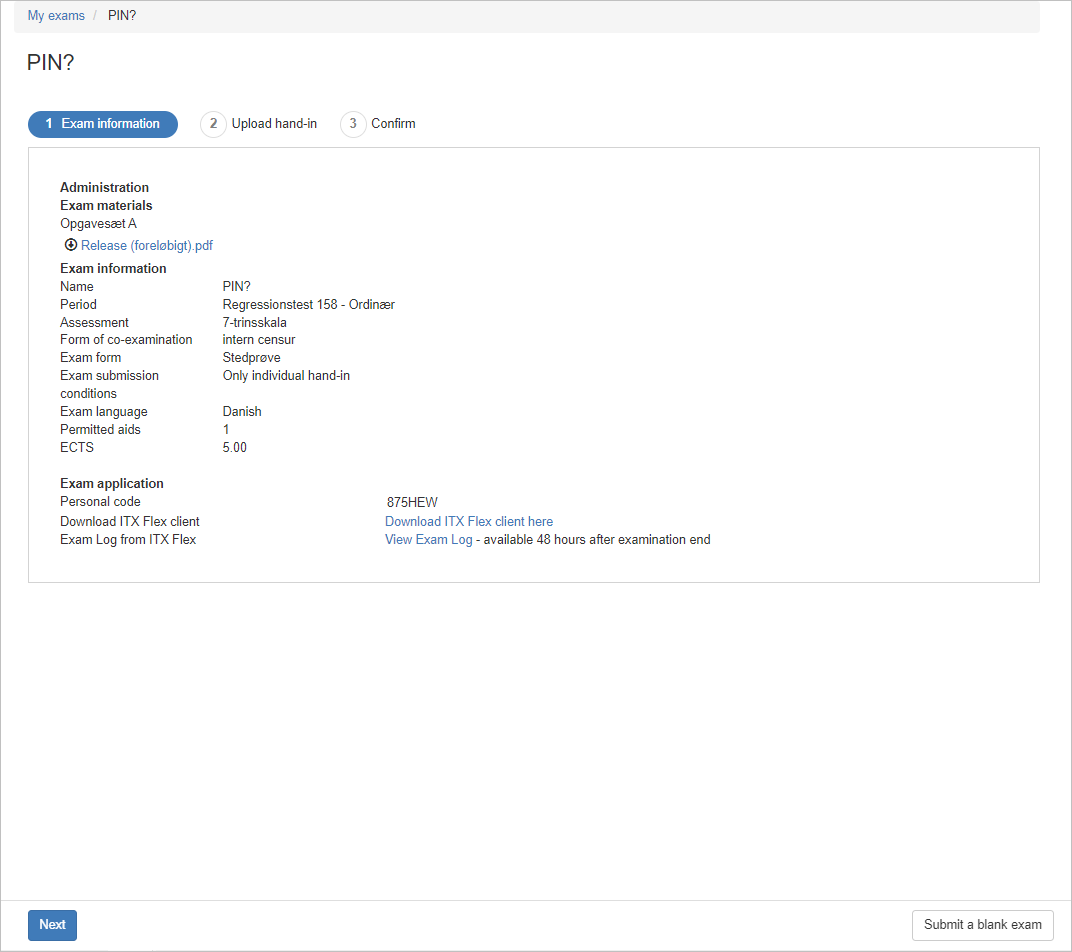
- Look for your personal code under Exam information in Digital Exam. You need the code to access the ITX Flex program itself to start the monitoring
- Find the link to the ITX flex monitoring program (client)
NOTE: It is important that you download the client/program because otherwise the monitoring will not work. Both the supervisor and the administrator can see if your monitoring is turned on.

- Find the relevant client
(Mac or Windows) - Click download
Install ITX Flex
(can be found in your download folder on your computer )
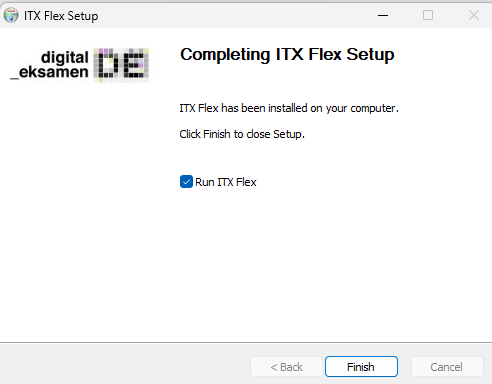
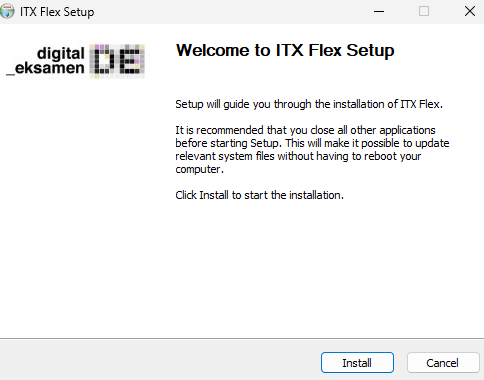
- Click Install
- click Firnish
Start din loginproces i ITX Flex
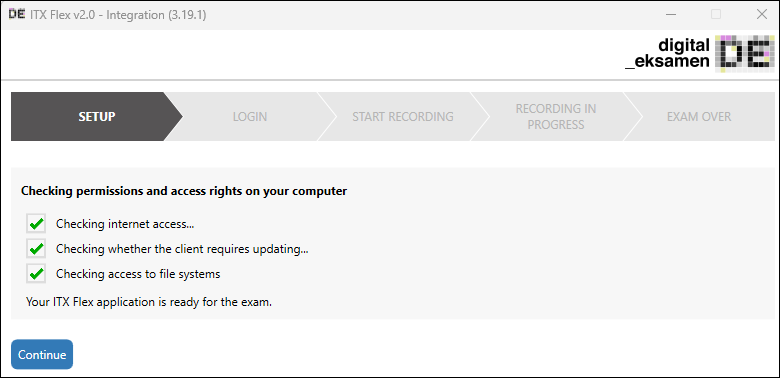
- You see this screenshot now
- Click Continue in ITX Flex
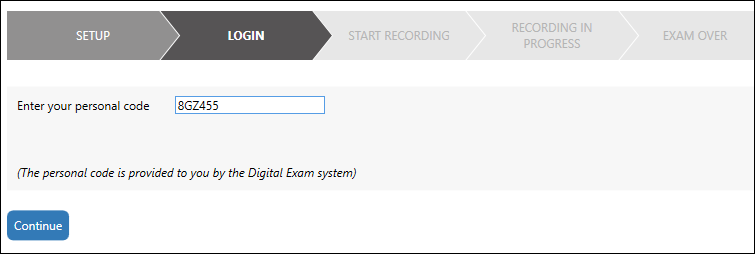
- Put in your personal code and click Continue
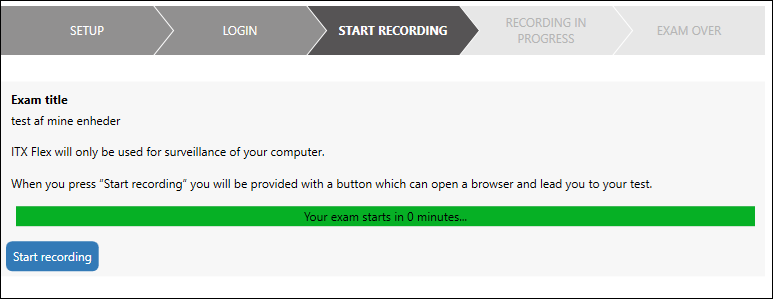
- At exam start:
Click on
Start recording
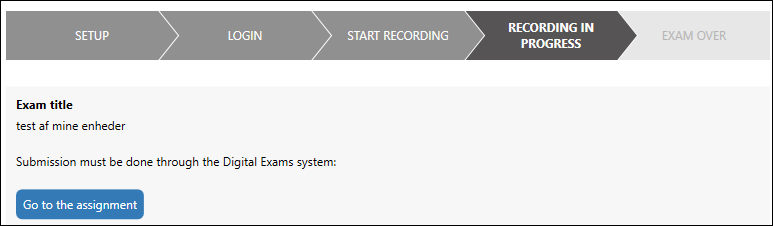
- Click on go to the assignement
Alternatively, you can also just find the tab where you have your exam in Digital Exam open
Put in the pin code when the exam starts
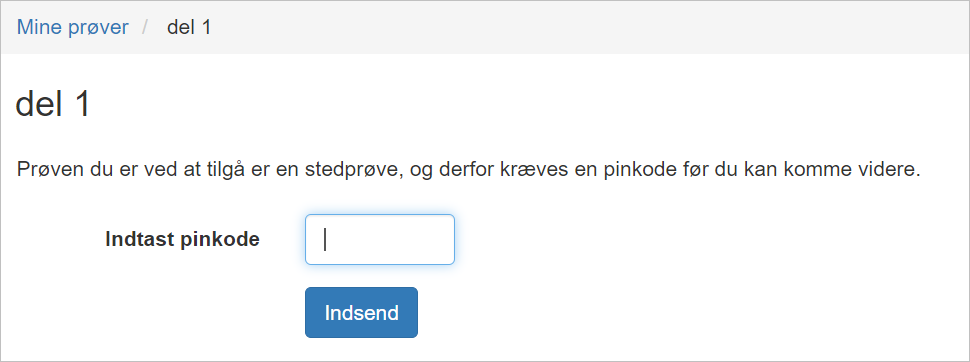
- At the start of the exam – after clicking on “Start recording” in Flex – enter the PIN code (usually provided in the exam room)
Fortsæt din eksamen i Digital Eksamen
- Continue your exam
(e.g. download your assignment text, write your essay/answer an MCQ - Click continue /Next
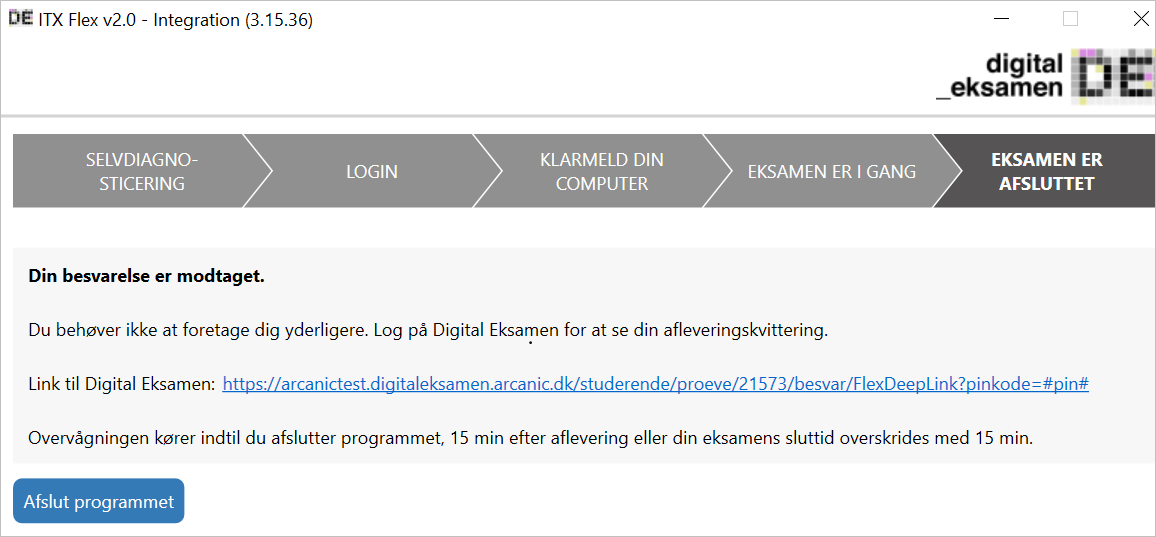
Aflevér i Digital Eksamen
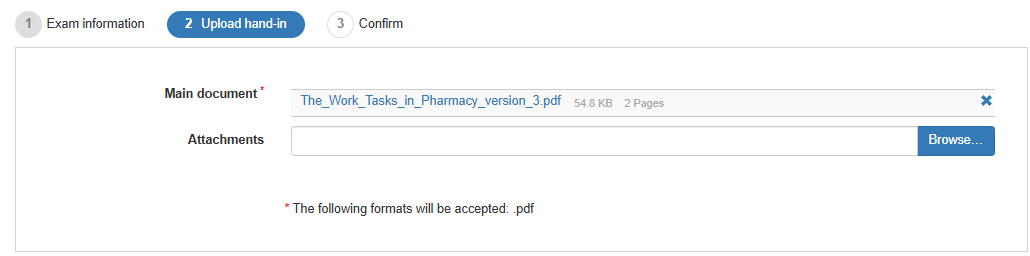
- Upload your paper in Digital Exam and hand in
- If it is an MCQ, then it is handed in/checked out in the MCQ submission flow

- Check out and finish your exam
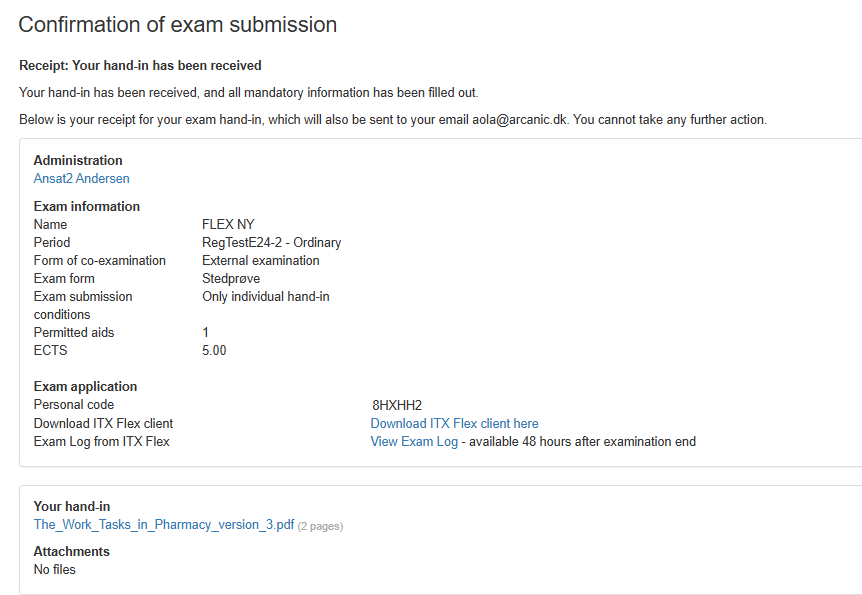
- You receipt
Afslut ITX flex
- Click Exit the program (takes 5-7 seconds for it to register in ITX Flex)
- ITX Flex will otherwise automatically stop 15 minutes after handing over or at the end of the test

- Ikonet for ITX Flex ser således på “proceslinien” nederst på din computer, hvis du ikke finde det
Notes regarding MacOS
Some students with MacOS (apple) computers have previously (before mid-January 2023) had challenges with screen recording only of the ITX flex client itself and not of the active window. This is because the students did not have the correct settings for screen recording, but nevertheless were given access to the exam. This means that some students may have inadvertently taken part in an ITX flex exam without screen recording.
This has now been solved and works like this:
- Students who have never accepted screen recording are greeted by a dialogue regarding system settings and cannot click on Start the exam in ITX Flex until they give ITX flex access to screen record via “Anonymity and Security”. If they refuse to give permission, they will not be allowed to click Start the exam at all.
- Students who have previously given permission, but have subsequently removed the tjek, are also not allowed to click on Start the exam. However, they are not met by the dialogue regarding system settings (i.e. they have to find it themselves) but they cannot click on Start the exam in ITX Flex until permission is granted
As MacOS is frequently updated, Arcanic cannot support instructions for how students find the system settings and Anonymity/Security.
Only the latest versions of MacOS are supported, please visit this link for more information